Alright, let's talk asphalt. You might be thinking, "Commercial asphalt? I'm a homeowner, not a business!" But here in Burney, especially if you've got a longer driveway, a shared access road, or even a larger parking area for your RVs and boats, you're often looking at the same kind of heavy-duty paving solutions businesses use. It's not just about a pretty blacktop; it's about durability, drainage, and getting it right the first time.
I've seen plenty of folks try to cut corners or go it alone, and more often than not, it ends up costing them more in the long run. So, let's break down what you, as a Burney homeowner, need to consider when you're thinking about a serious asphalt project.
Before the Shovels Hit the Dirt
This is where you can save yourself a ton of headaches and money. Don't skip this part.
Know Your Ground: Our soil here in Burney can be tricky. We've got everything from volcanic ash to rocky, clay-heavy stuff. You can't just lay asphalt over whatever's there. A good contractor will do a thorough site evaluation. They'll look at the subgrade, how water drains (or doesn't), and what kind of traffic the area will see. If you've got standing water after a good rain, that's a red flag we need to address.
Permits, Permits, Permits: Depending on the size and scope, you might need a permit from Shasta County. Don't assume you don't. A reputable contractor will help you figure this out and usually handle the paperwork. Trying to sneak around this can lead to fines or having to rip out work you just paid for.
Get Multiple Bids, But Compare Apples to Apples: Don't just pick the cheapest guy. Get at least three bids. Make sure each bid details the exact scope of work: excavation, base material (type and depth), asphalt thickness, drainage solutions, and any necessary grading. If one bid is significantly lower, ask why. They might be cutting corners you don't want cut.
Check References and Insurance: Always, always check references. And make sure any contractor you hire is fully licensed and insured. If they're not, and someone gets hurt or something goes wrong on your property, you could be liable. We're talking big money here, so don't take chances.
During the Project: What to Watch For
Once the work starts, it's not really your job to supervise every single step, but knowing what's happening can help you spot potential issues.
Proper Base Prep is Key: This is the foundation of your asphalt. If it's not done right, your asphalt won't last. The ground should be properly excavated, compacted, and a good aggregate base (like crushed rock) laid down and compacted in layers. You should see heavy equipment doing this, not just a guy with a shovel and a tamper.
Drainage: Is water going to flow away from your house or structures? A good contractor will ensure proper slopes are established. You don't want puddles forming after every rain, especially with our heavy winter snowmelt.
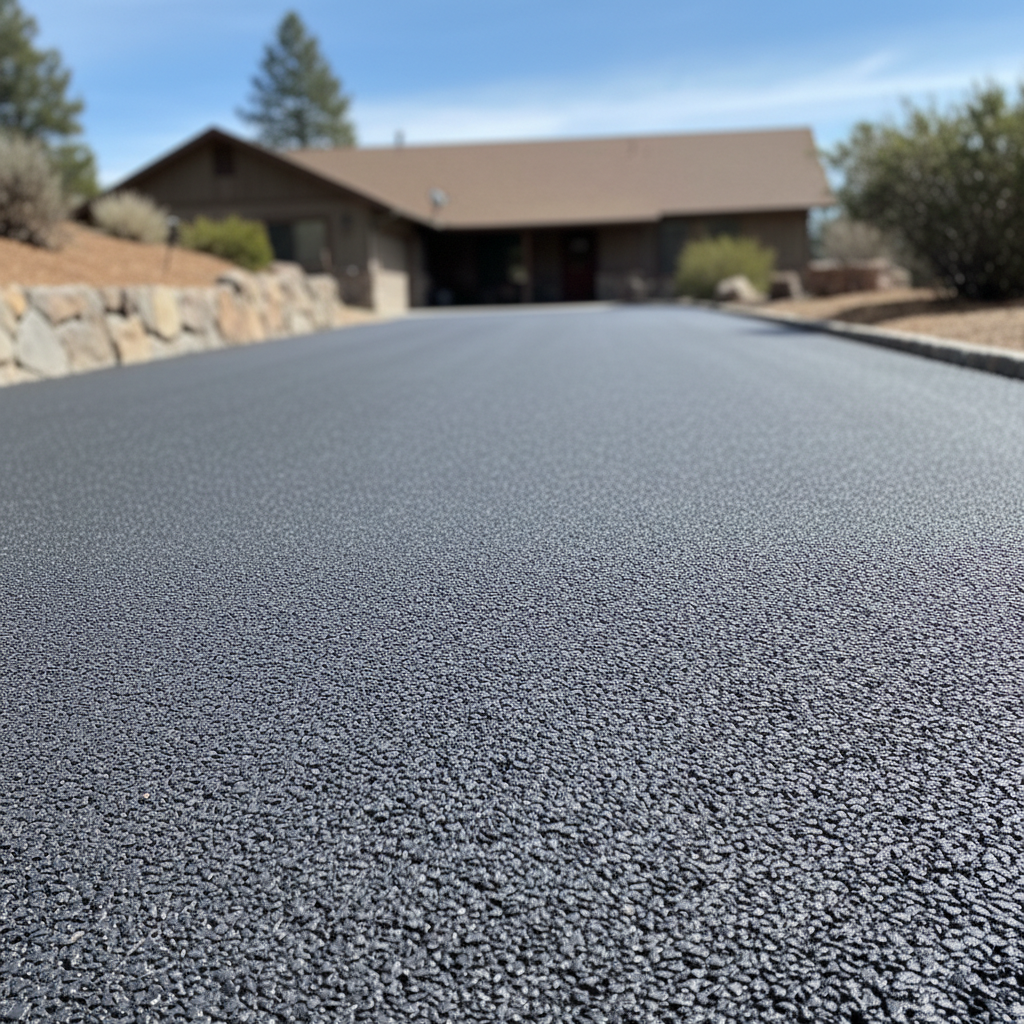
Asphalt Application: The asphalt should be laid at the specified thickness and compacted while it's hot. You'll see rollers doing this. It shouldn't look patchy or uneven. If you're unsure, ask your contractor to explain what they're doing and why.
Communication: Your contractor should be communicating with you. If there are delays or unexpected issues, they should let you know promptly. That's just good business.
After the Job is Done: Protecting Your Investment
So, you've got a beautiful new asphalt surface. Now what? You can't just forget about it.
Curing Time: Stay off it! Your contractor will tell you how long to keep vehicles off the new asphalt. It needs time to cure and harden properly. Don't rush it.
Sealcoating: This is your asphalt's sunscreen and raincoat. About 6-12 months after installation, and then every 2-3 years, you'll want to sealcoat. This protects the asphalt from UV rays, water penetration, and chemicals like oil and gas. You can do smaller areas yourself if you're handy, but for larger driveways, it's usually best to call in a pro like us at Coastal Asphalt Paving. We've got the right equipment and materials to do it efficiently and effectively.
Crack Repair: Small cracks will happen over time, especially with our freeze-thaw cycles. Address them quickly. You can buy crack filler at hardware stores for minor cracks. Clean the crack thoroughly, apply the filler, and let it cure. If you let small cracks become big potholes, you're looking at much more expensive repairs.
Cleaning: Keep it clean. Sweep off debris, leaves, and dirt. Oil and gas spills should be cleaned up immediately to prevent damage. A pressure washer on a low setting can help, but be careful not to blast away the aggregate.
Look, a well-installed and maintained asphalt surface can last 20 years or more. It's a big investment for your home, so treat it that way. Don't be afraid to ask questions, do your homework, and hire someone who knows what they're doing. It'll pay off in the long run.